-
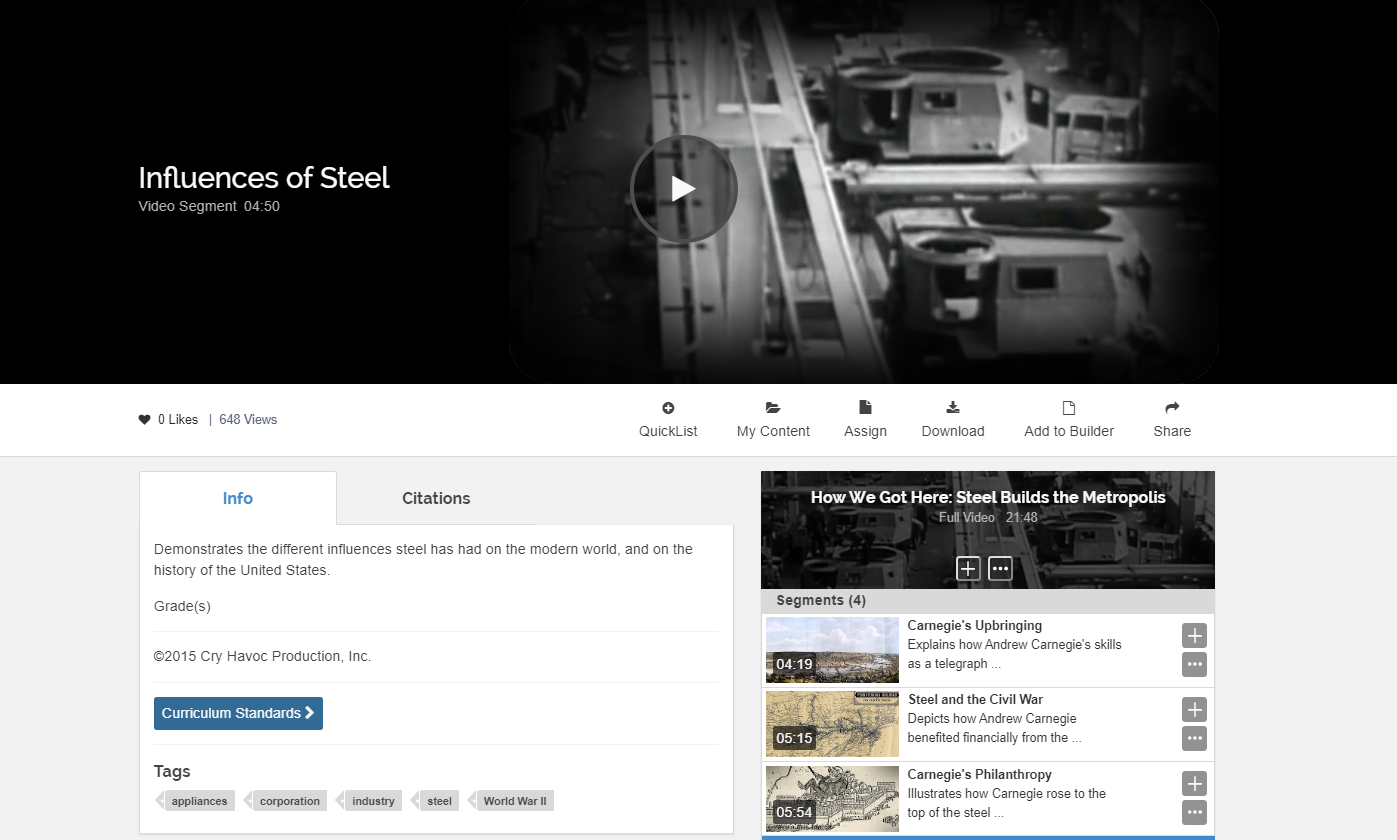
This is what a resource will look like when you are in it.

-
At the top is where you will see your resource. In this case a movie. You can click on it to play it.

-
In the next section you can put this resource in your content for easy retrieval. I wouldn’t assign it as Schoology is still the best place to assign work.
-
“QuickList” Adds resource to a list you can quickly access
-
“My Content” places the resource in a class folder for easy finding.
“Download” Allows you to download the resource onto your computer to be used offline


-
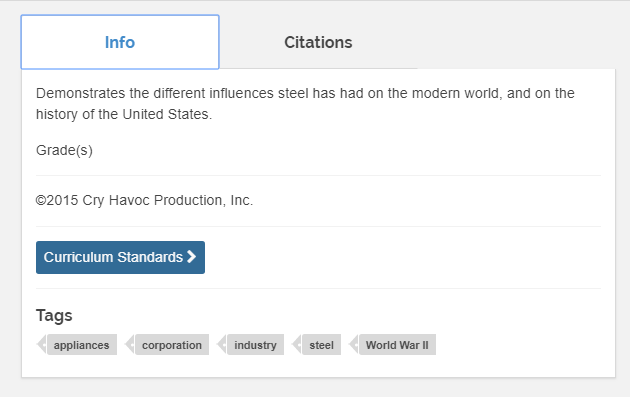
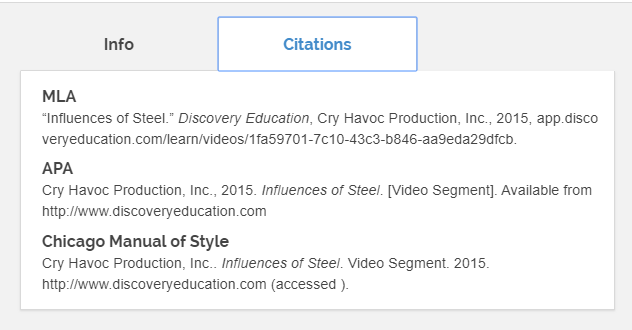
Next is a section with and info and Citation tab. Info gives a general description of the resource and the citation tab allows you to cite the source in various formats.
-
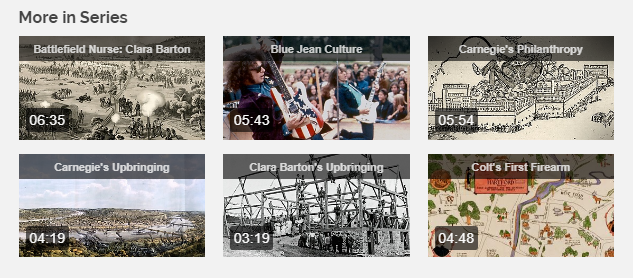
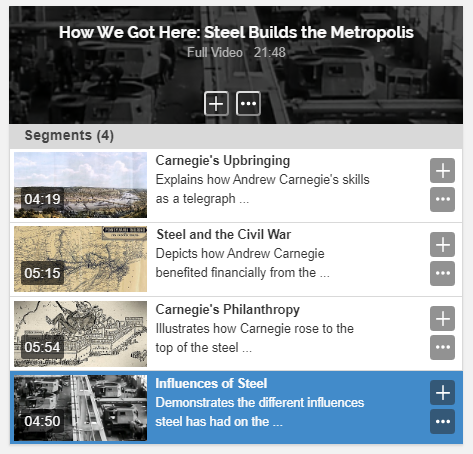
The last three sections, two at the bottom and one on the right, provide more resources you might be interested in.

|