
Arson Inquiry Lab
Task
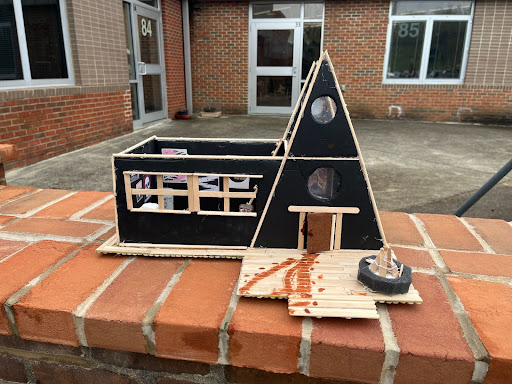
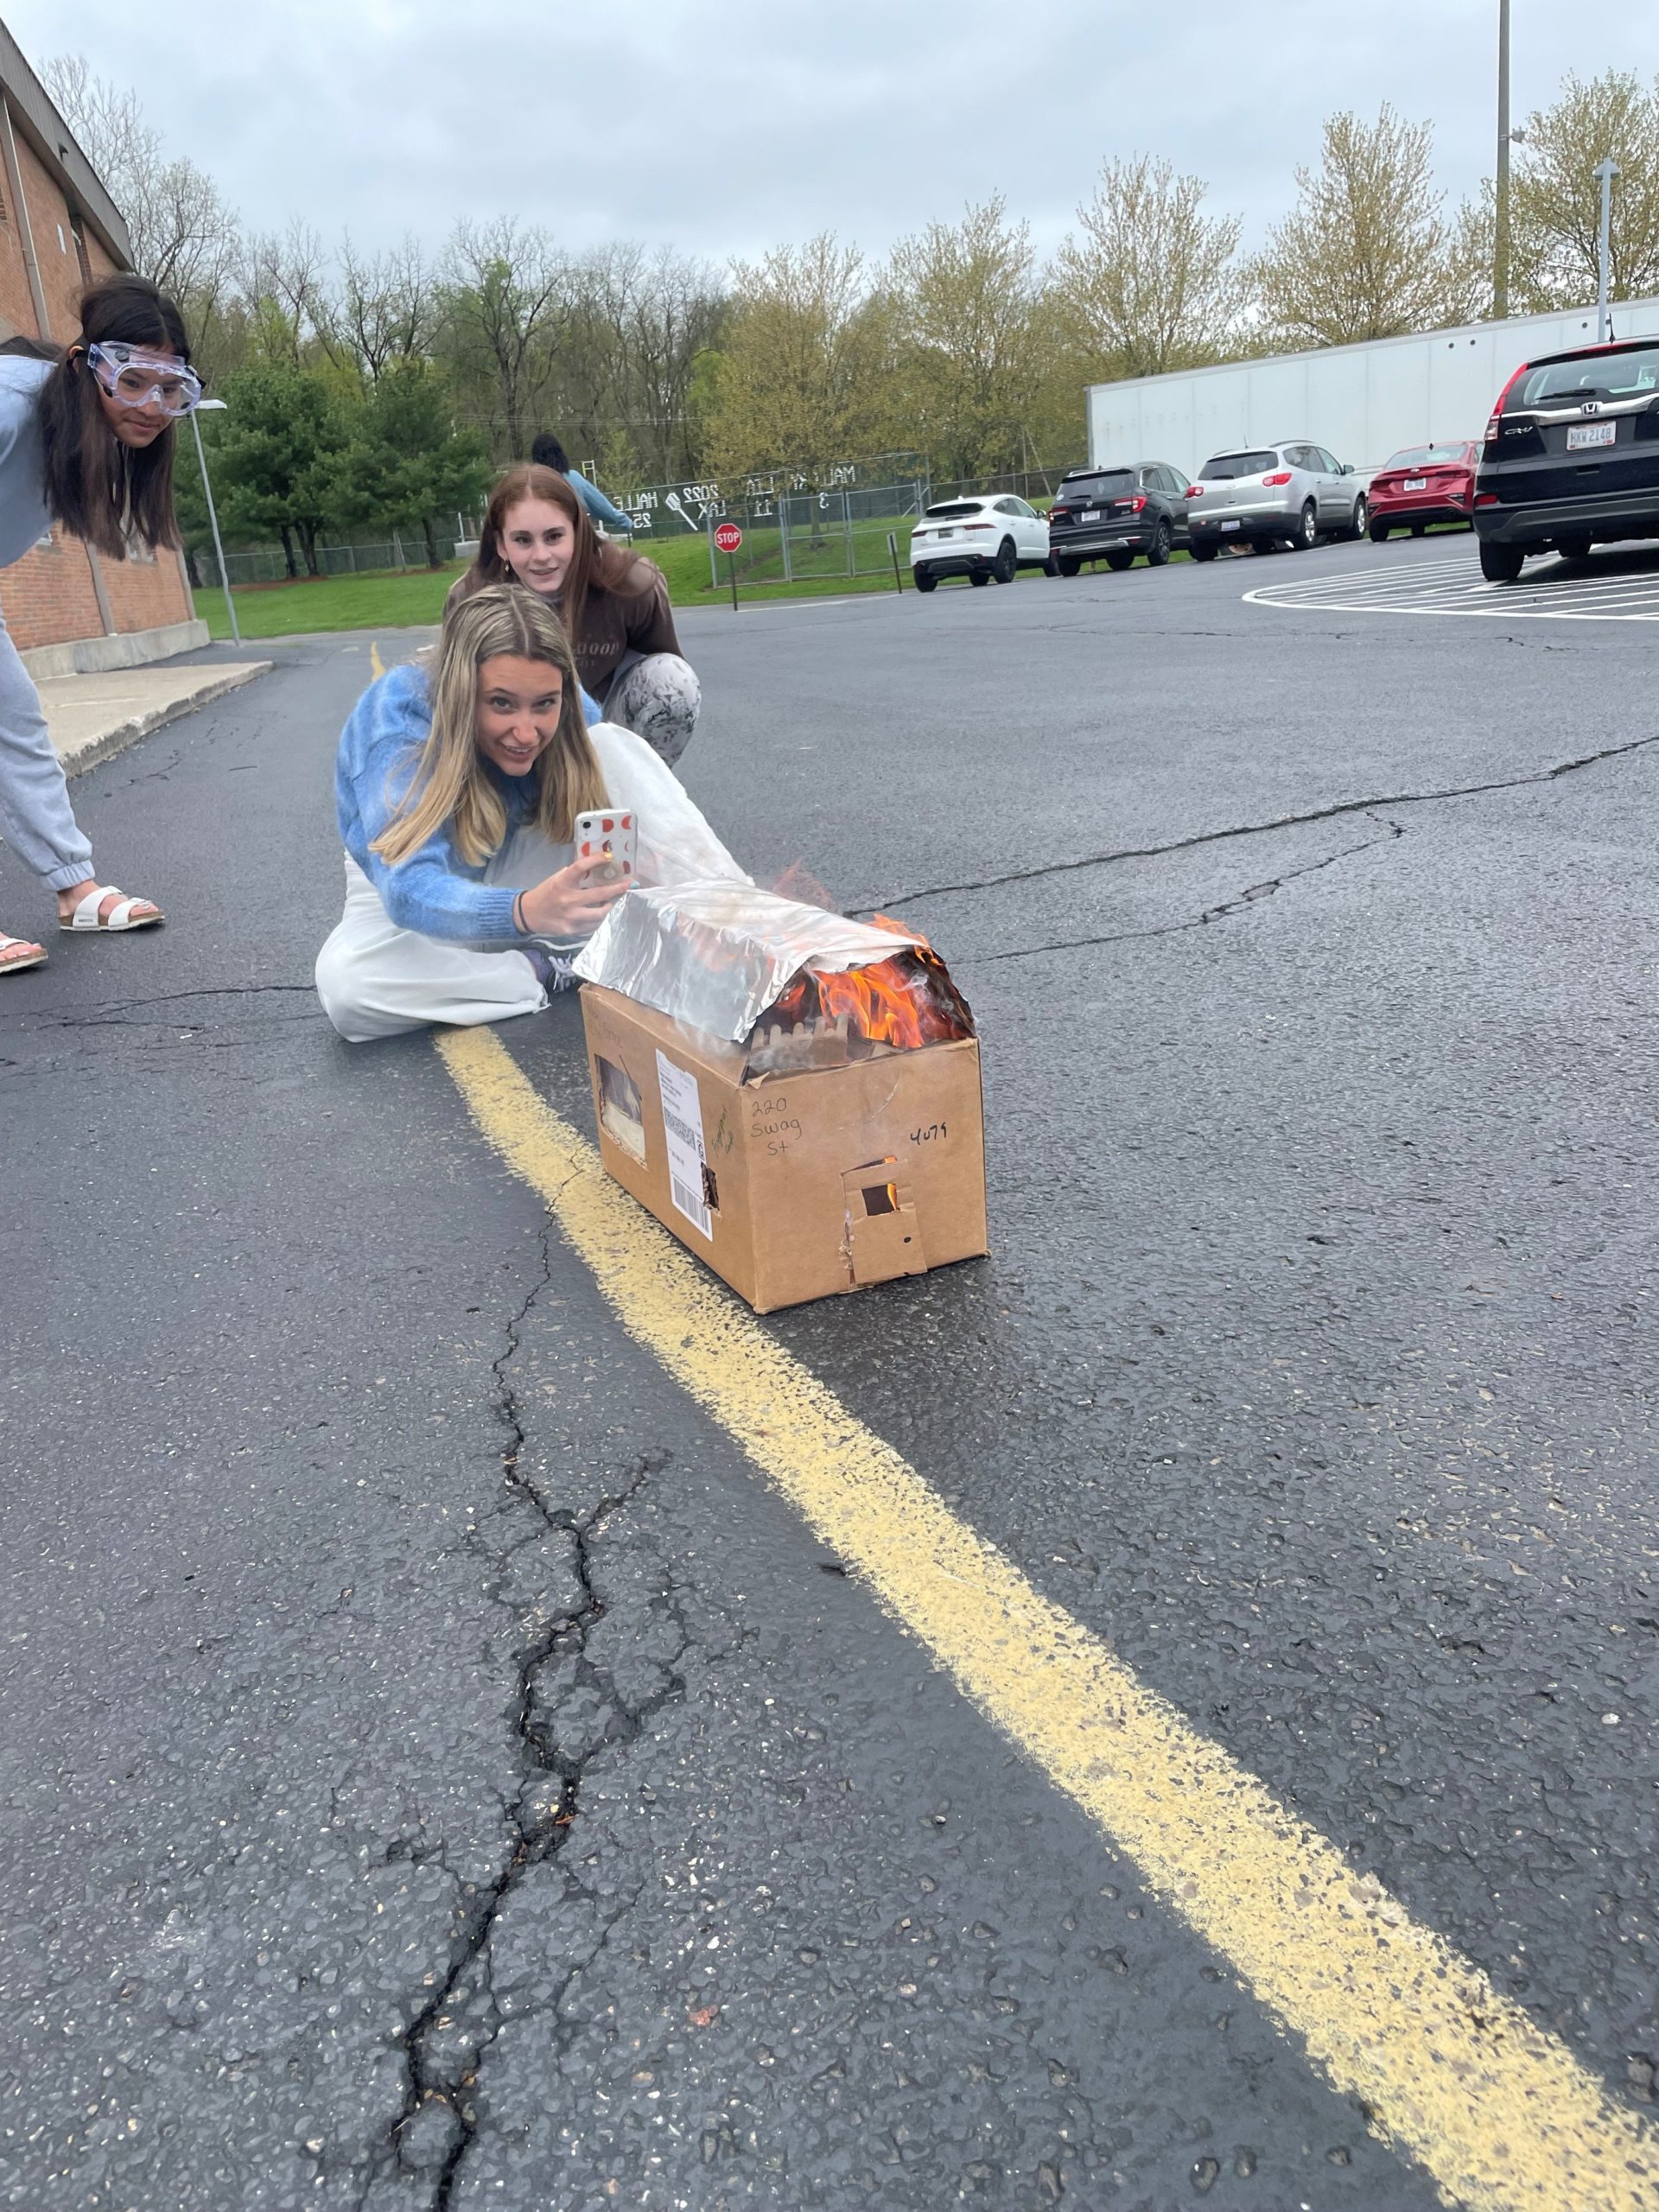
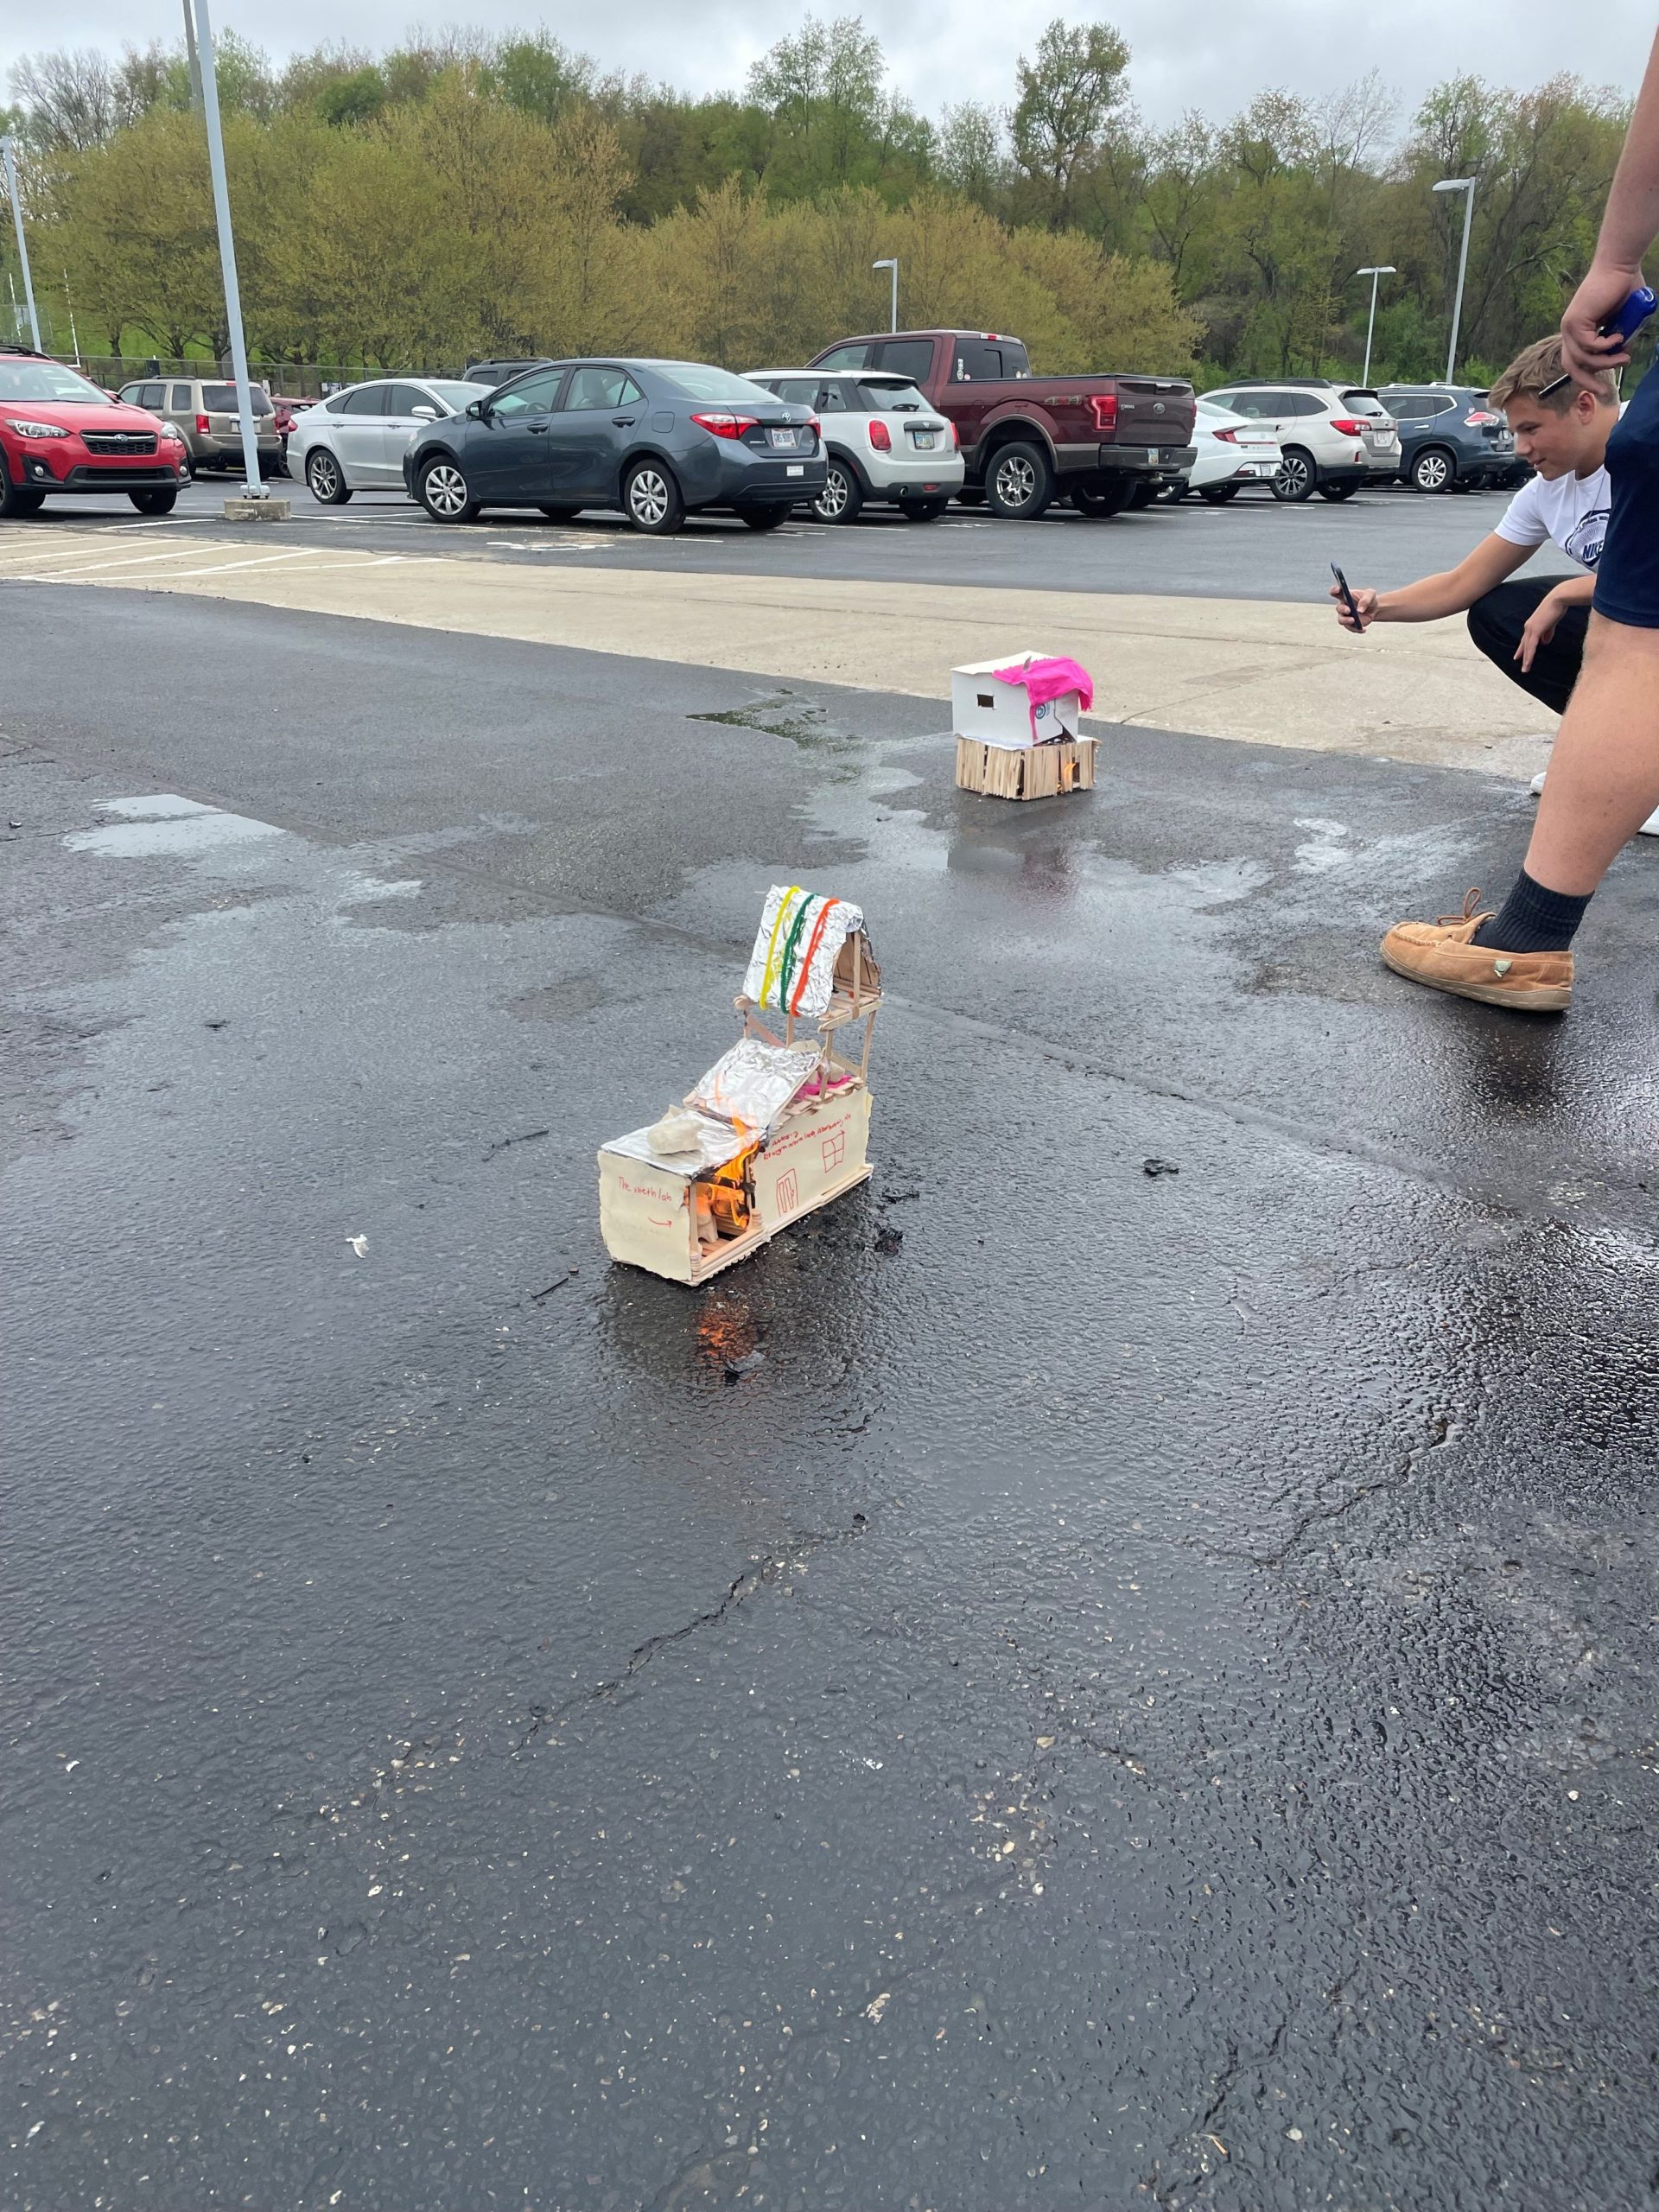
Create a structure, set fire to it, and observe the behavior of the structure as it burns.
Learning Target
Investigate the behavior of a fire as it burns. Observe and examine a burned structure and predict the point of origin of the fire.
Overview
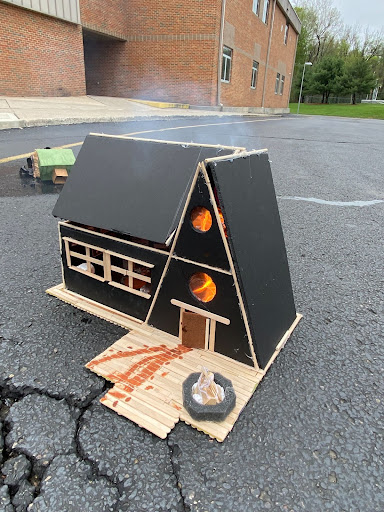
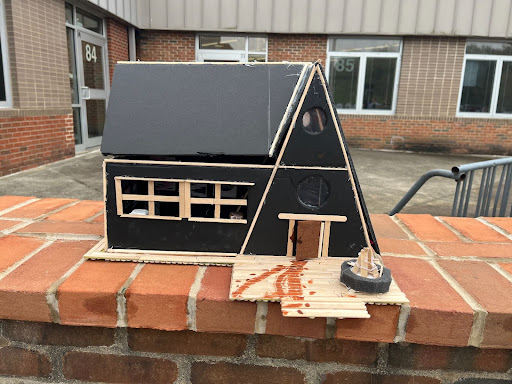
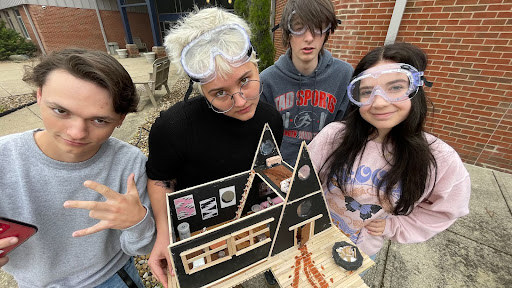
Students formed a group and submitted a plan for the project. They were tasked with building a 2-story structure that had a minimum of 3 rooms, 3 windows, an entry point, a roof, 1 “body” and 6 different material types (ex: plastic, cotton, polyester, wood, cardboard, etc.). They also created a storyline as to what the crime was that occured, how and where the fire took place, and if there was an accelerant used. Students spent 2 days building the structure.
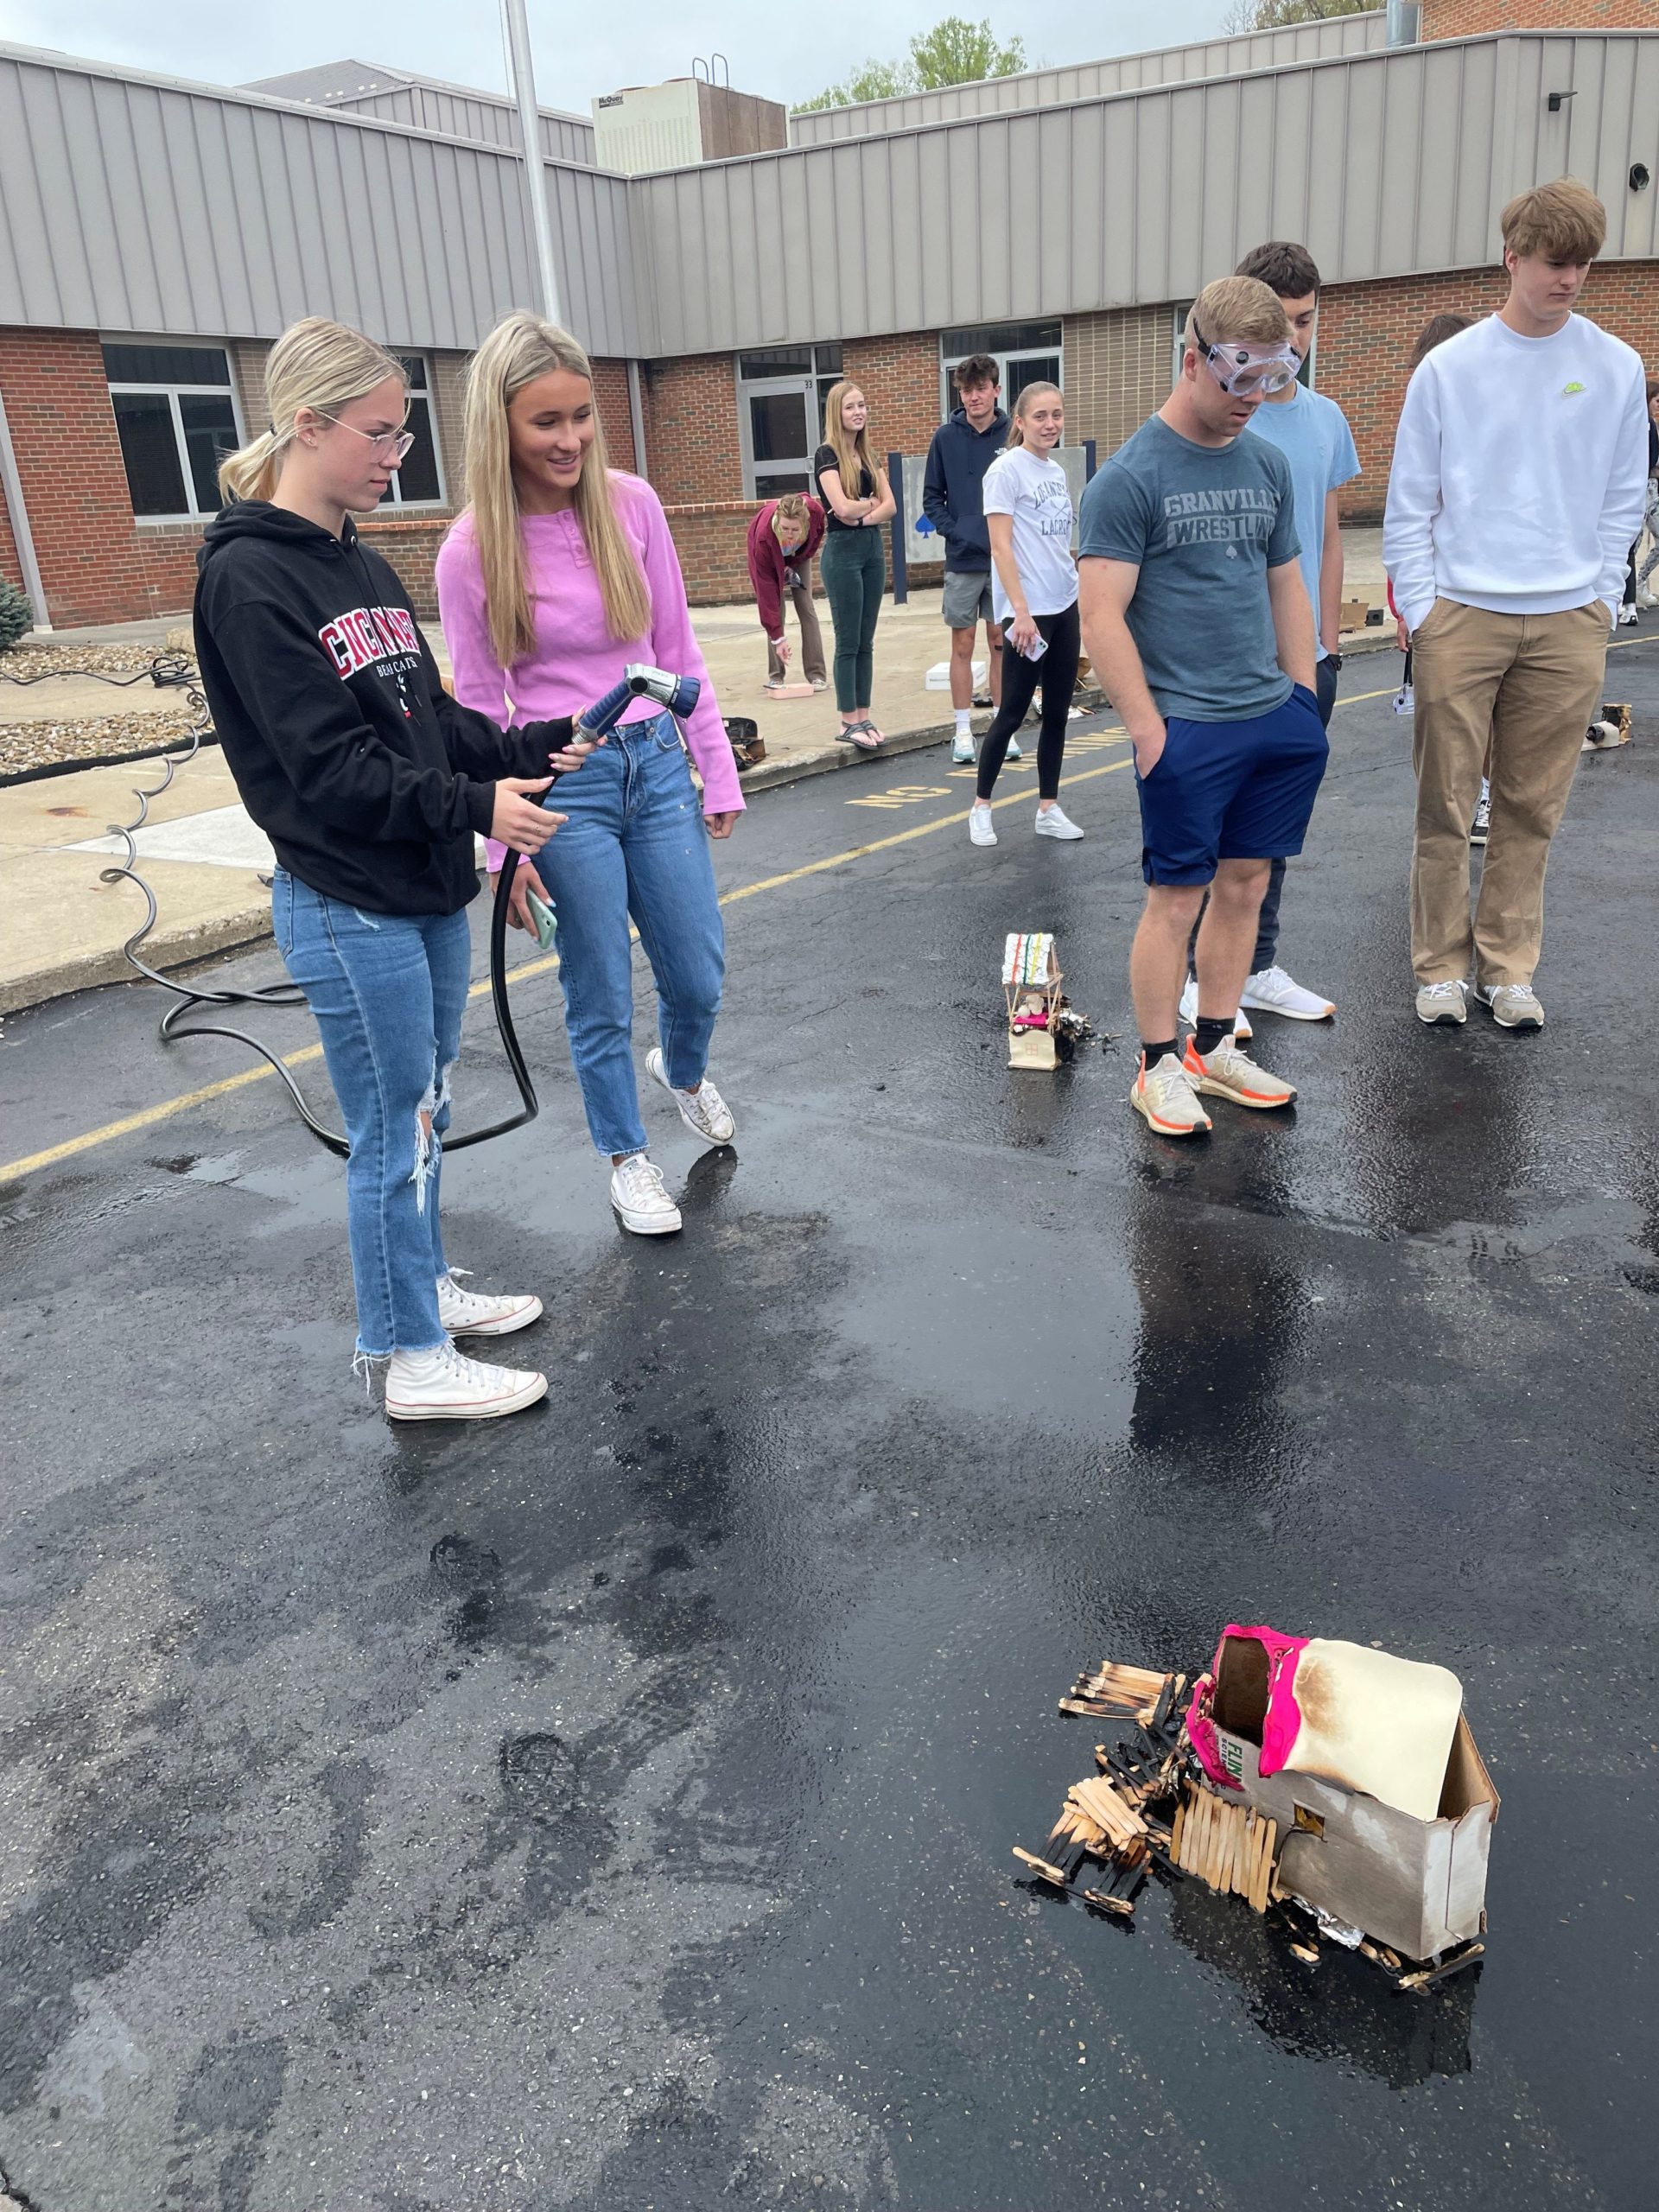
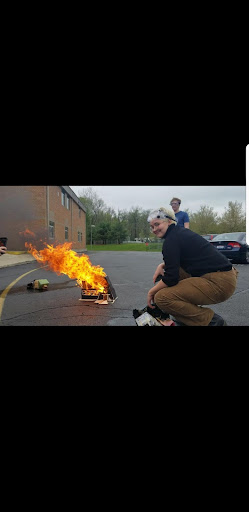
On the third day, Chief Curtis from the Granville Fire Department came in to talk about his role and the duties of the department, examples of runs they have been on recently, and how fires have changed over the last 20 years with the increase of plastic and electronics in household items, how and why an investigation begins and what the goal of that investigation is. He then oversaw the burning of the houses.
Students made observations, took pictures and video of the fire. The next day they answered questions about the specific observations that they made. We then began a class discussion on fire chemistry and fire investigation.
Chad Wissinger, Forensic Laboratory Chief from the State Fire Marshal, came in and gave a presentation about the investigation, lab capabilities, accreditation, and evidence testing processes in regard to a fire or explosive case. He presented a case study of an explosive case that the FBI, Columbus Bomb squad, and State Fire Marshall agency investigated.
Observations
- Where did your fire start?
- Living room
- What observations did you make as the fire started to burn?
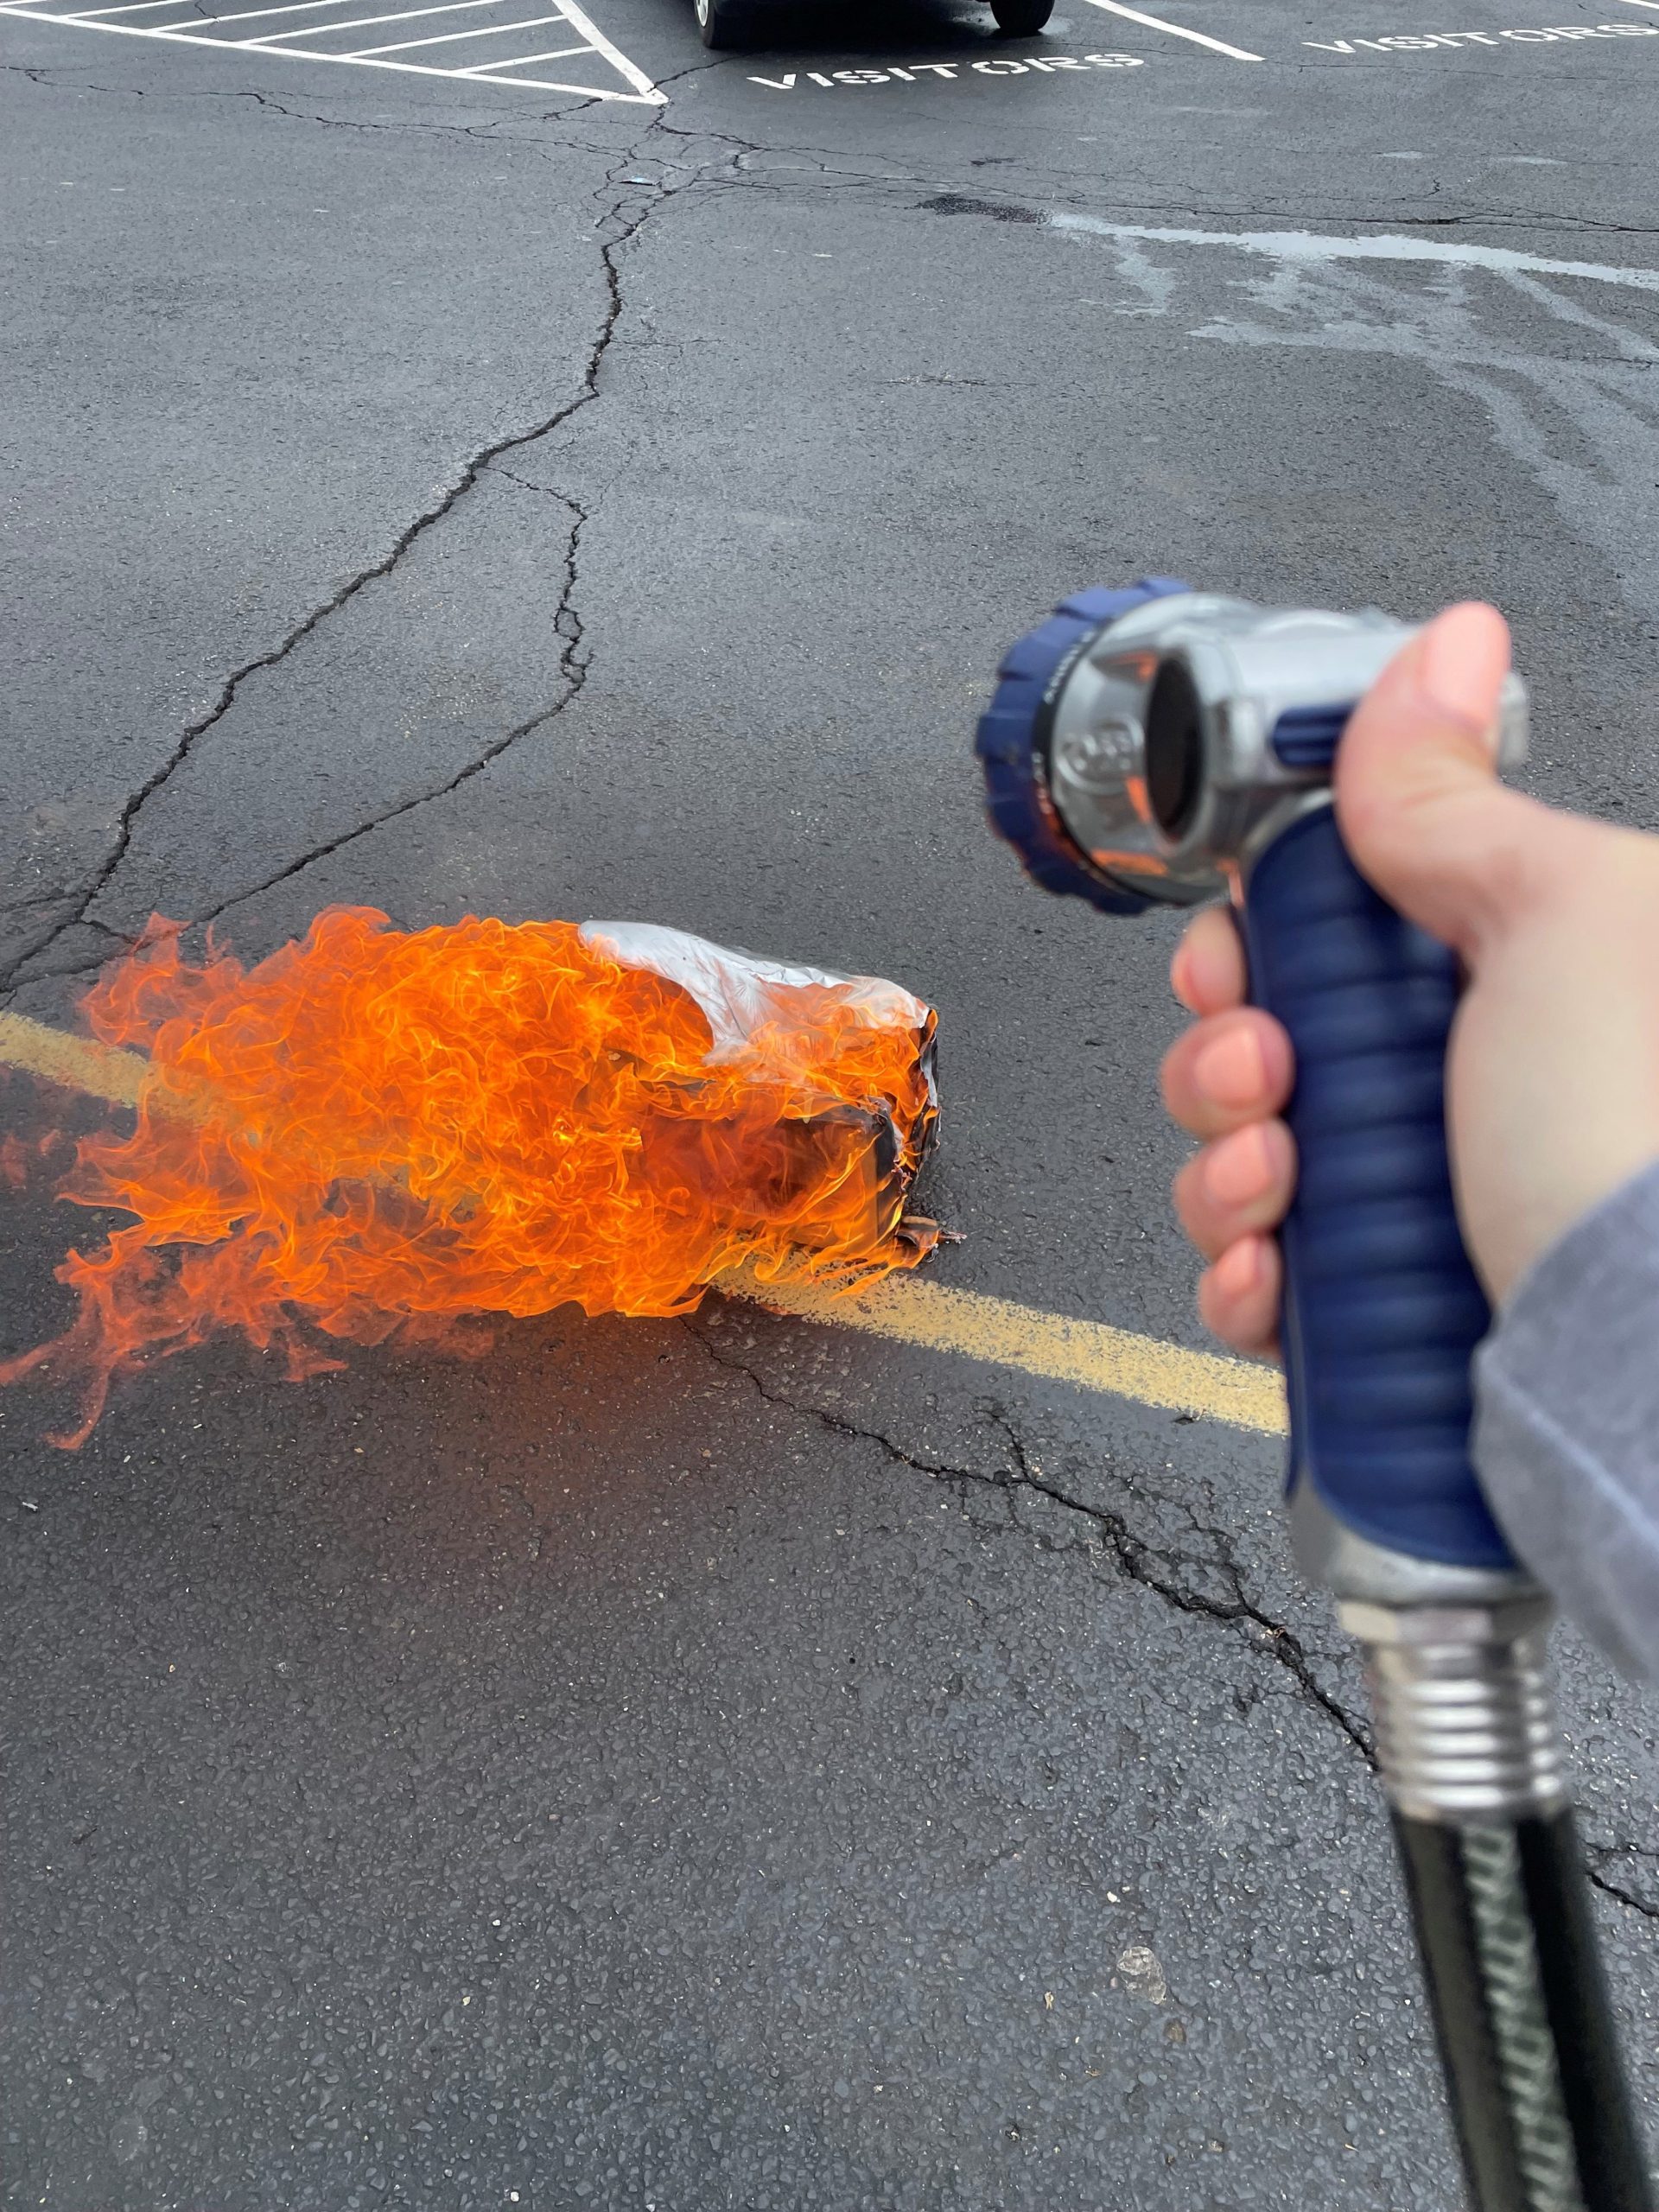
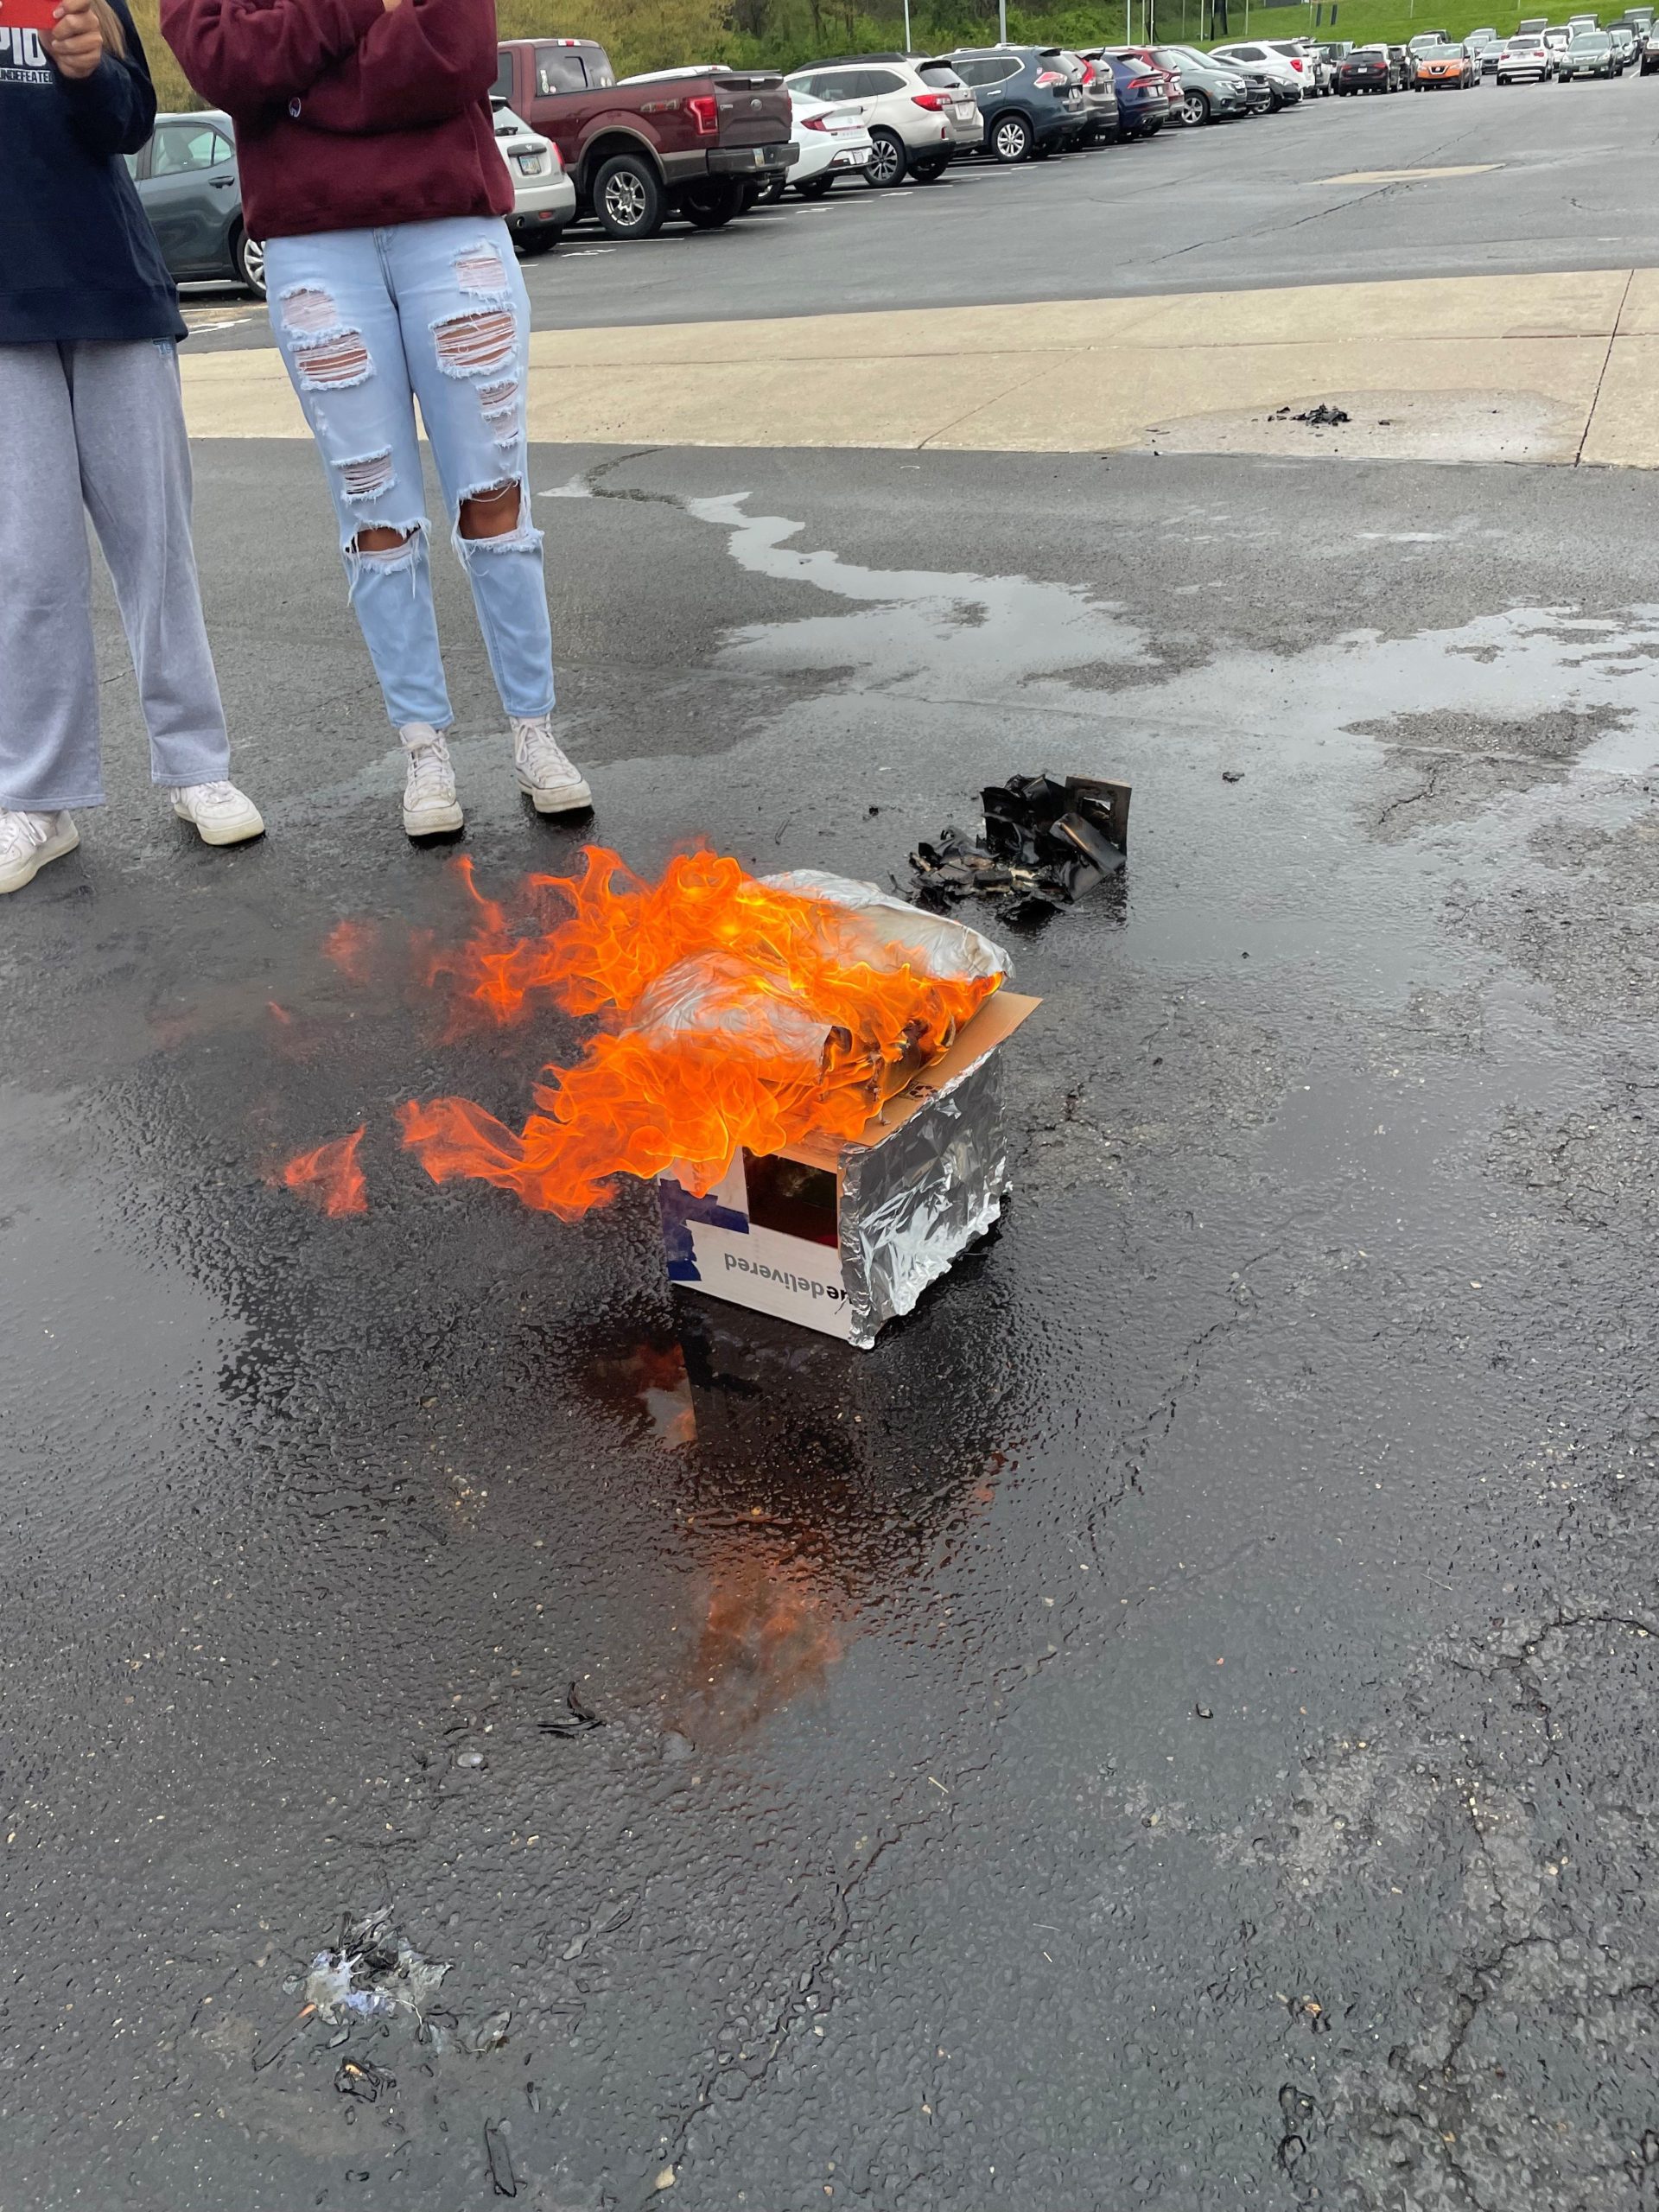
- It started slowly in the room and remained in the a frame structure, then as wind picked up it extended throughout the house
- Did the fire spread? Describe how the fire spread throughout your structure?
- Yes, it spread up and out. Started in the living room, then bedroom, to the kitchen, and finally the bathroom.
- Did the fire self-extinguish or continue to burn?
- It continued to burn
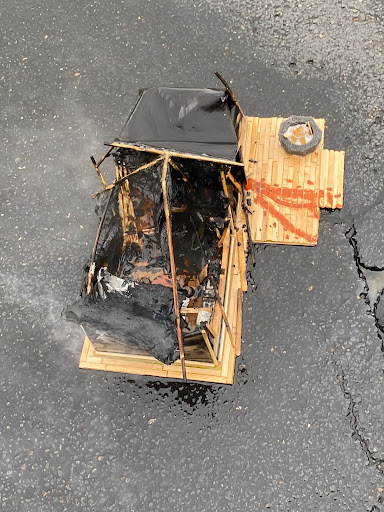
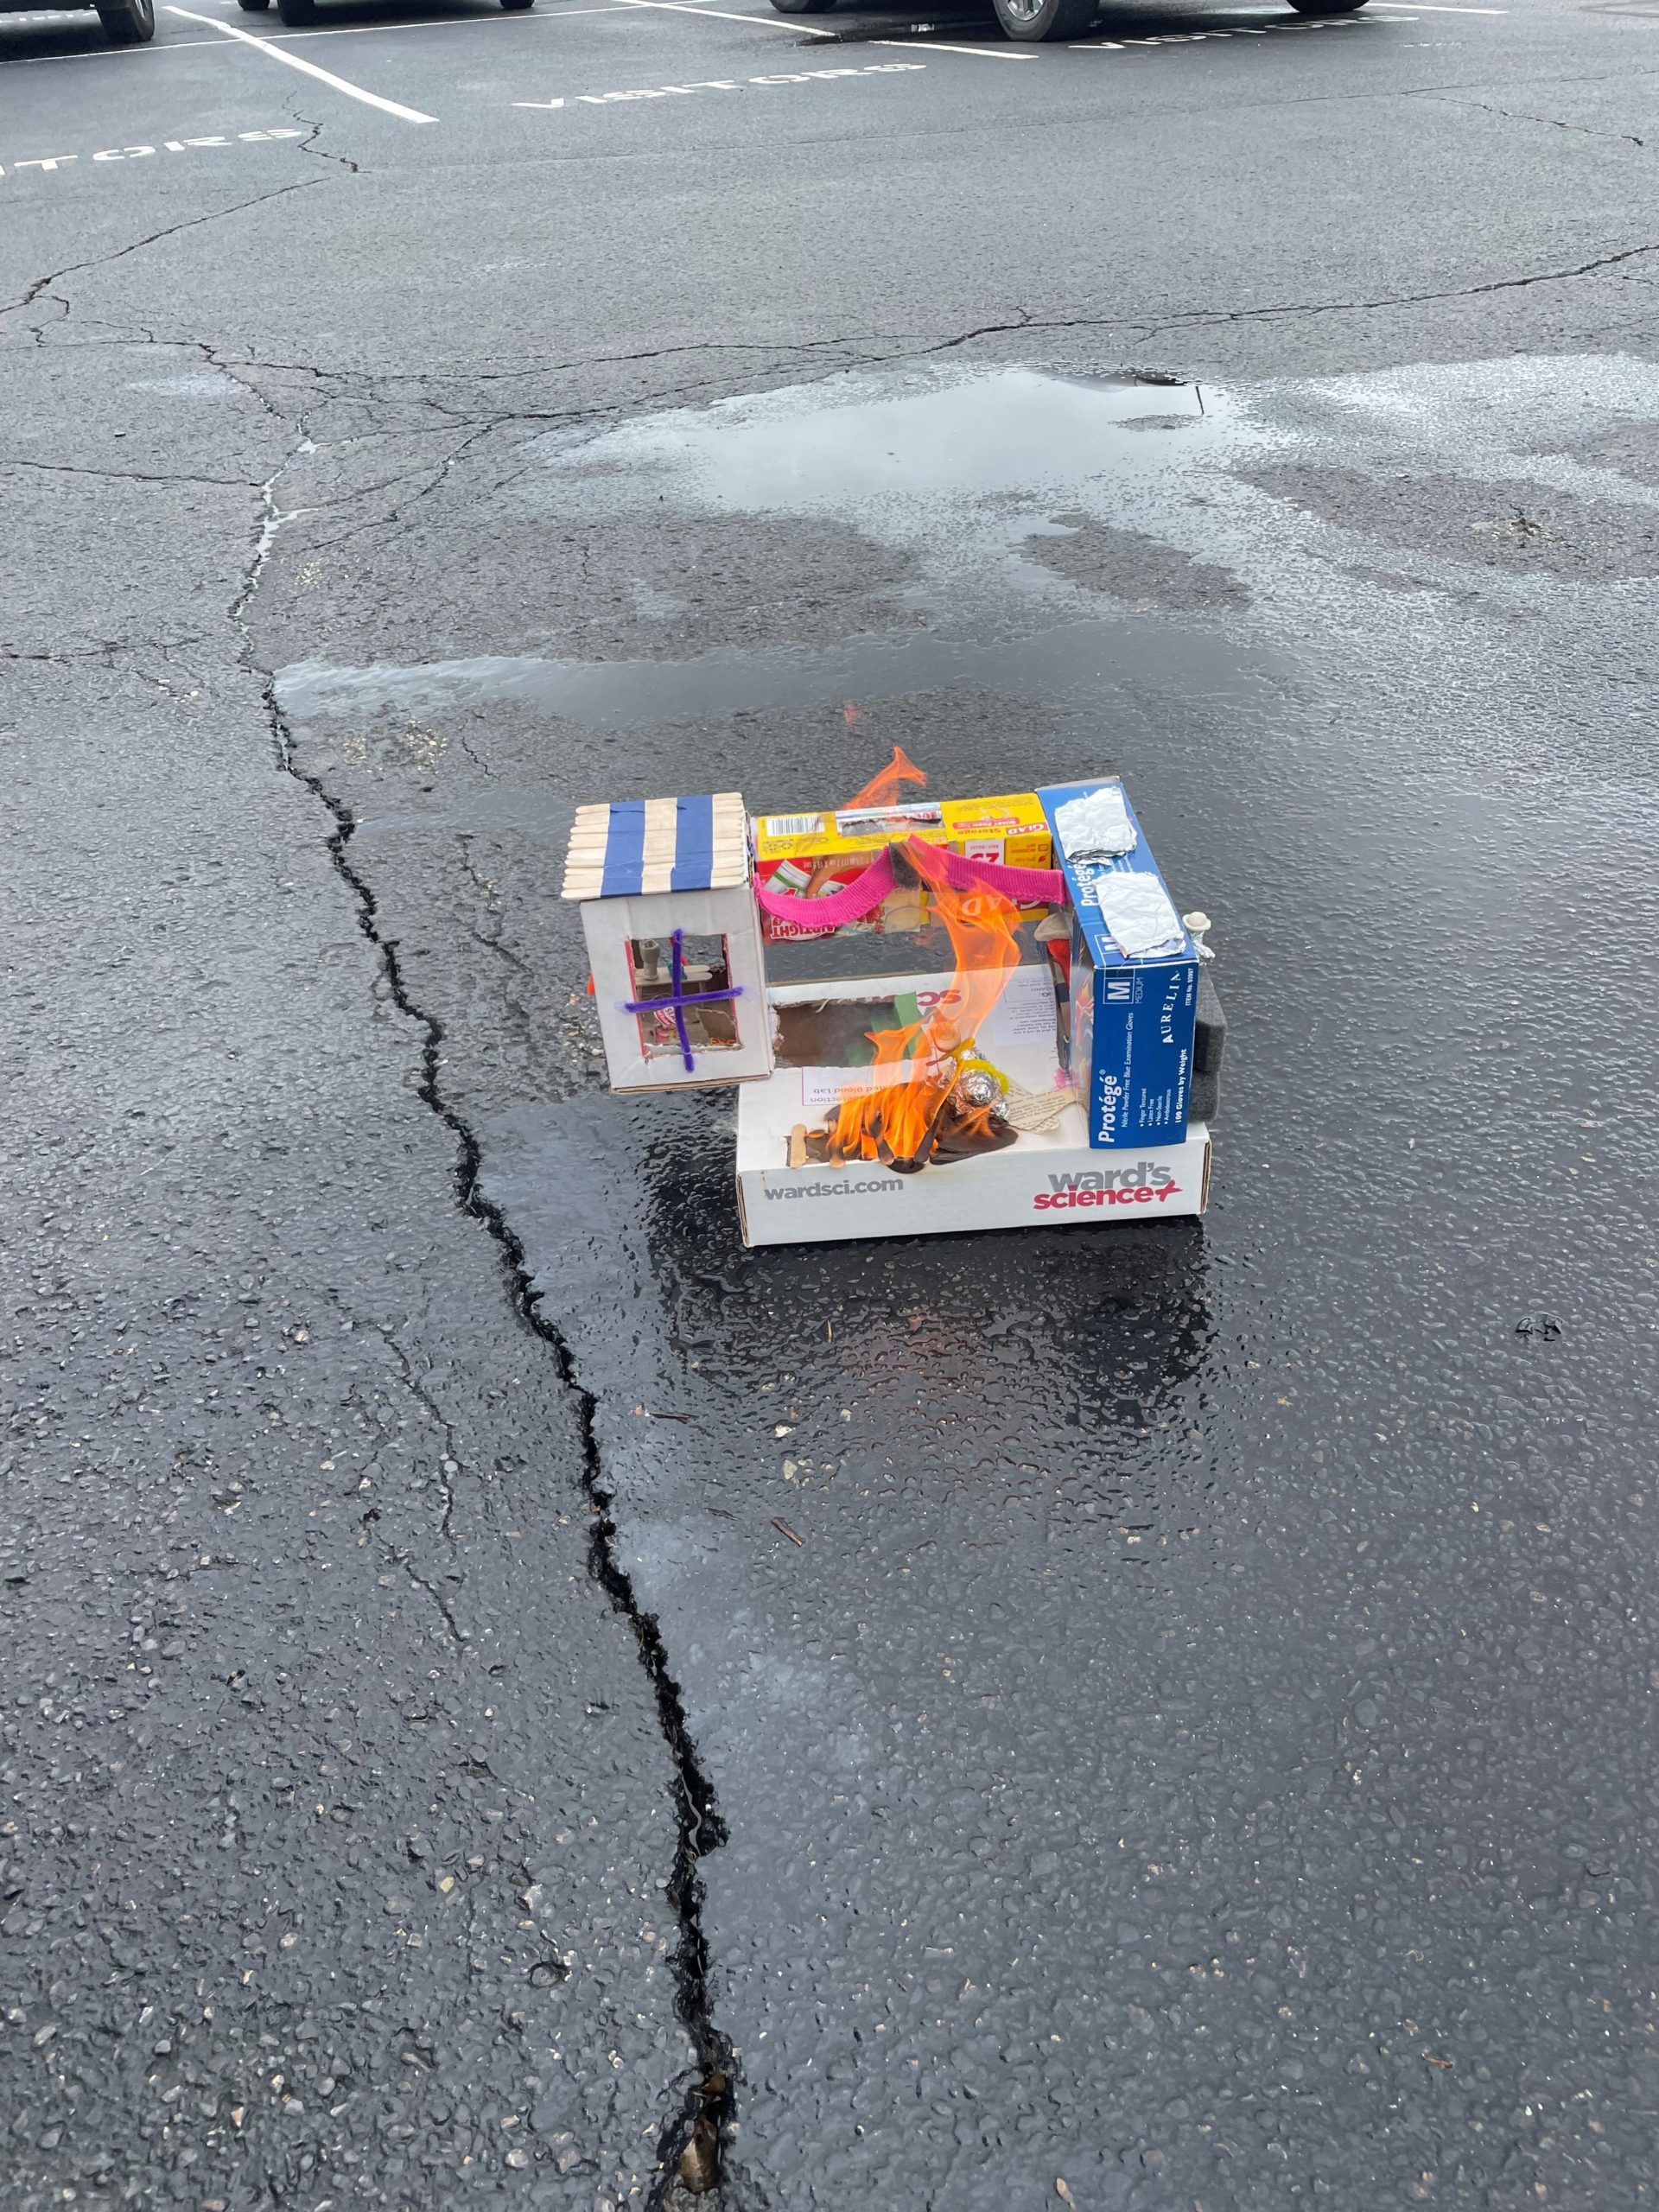
- Take photographs of your structure after burning.
- Did you notice any burn patterns that would lead an investigator to determine the point of origin of the fire?
- The fire burned too quickly for a definitive place of origin to be located, however, the majority of the damage was located in the living room and upstairs
- List observations made to the external area of the structure:
- The outside caved in, and it burned away/charred.
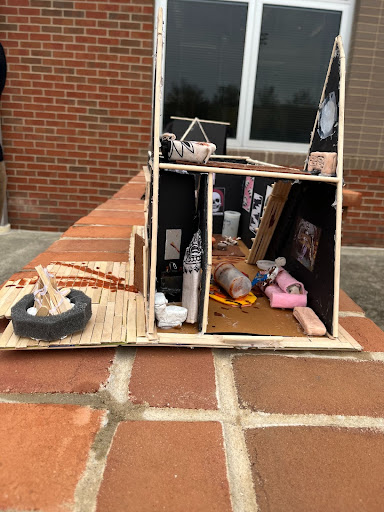
- List observations made to the internal area of the structure:
- The upstairs got entirely destroyed, but the kitchen seemed relatively intact besides the roof crumbling on top of it/obvious charring. The bathroom remained pretty much untouched besides a little bit of charring. The living room was destroyed because that was where the fire originated.
- Fill in the table for each item burnt and what specific observations (length of burn, what remains looked like, burn patterns) you made.
| Item Type | Specific Observations | Comments about why this happened |
| Body (animal bones) | No char marks, completely intact | Human/animal remains require an extremely high temperature to be damaged, especially bones |
| Posterboard | Charred and disintegrated | Similar to paper so it burns easily, but is a thicker material. |
| Plastic trash can | Melted and discolored | Plastic melts at high temperatures, discoloration from chemicals |
| clay | char marks, but intact and distinguishable | Clay is made to withstand/cure in high heat, so it makes sense for it to stay intact |
| wood | charred and splintered | wood is flammable and commonly used to start fires, so it doesn’t help in preventing house fires. |
| fire pit | completely intact | The fire remained inside the house, so it didn’t get the chance to reach the fire pit on the porch |
Other Photos
We would like to thank Dana Niblet. This lab was modified from her lesson posted on the Trendy Science Teacher, https://thetrendyscienceteacher.com